Login to your HubSpot account.
Open any web page that you have created using the Builder theme.

Our HubSpot Products
OUR COMPANY
You will learn how to edit and modify the Global Footer of your web pages without any hassle or complication.
Login to your HubSpot account.
Open any web page that you have created using the Builder theme.

Click to open the Dropdown on the top right hand side corner with the HubSpot icon.
Click on the Edit Page option on the dropdown to enter the edit mode of the web page.

You can now edit the web page as per your requirement.
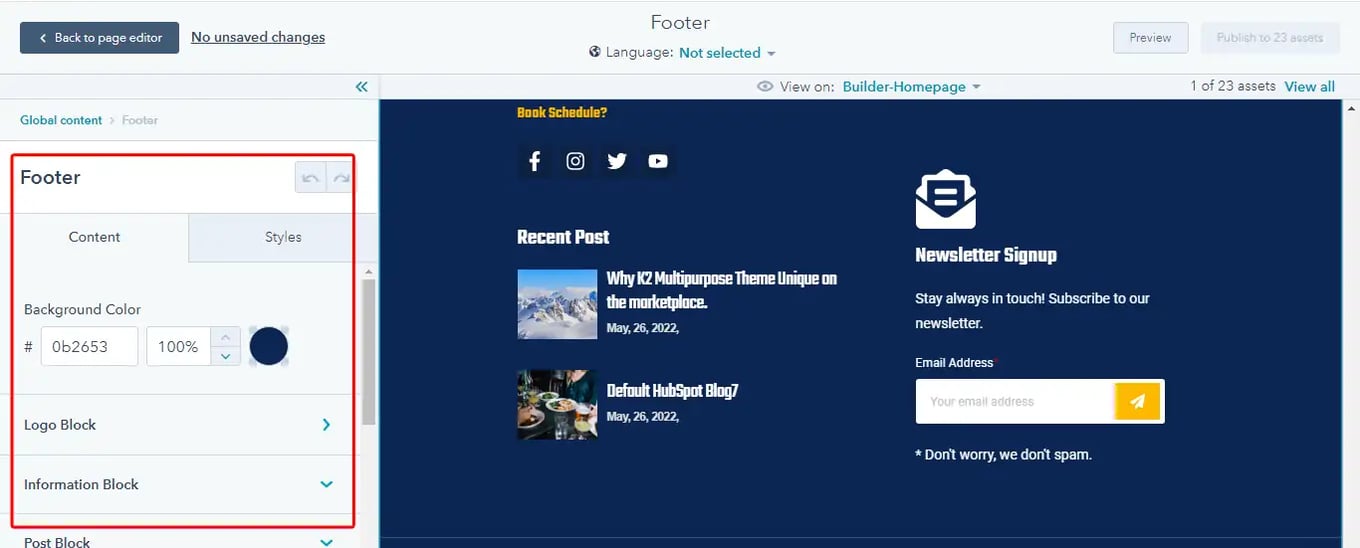
Click on the footer section of the web page. A message on Edit global content appears in the popup. Click on the Open in the global content editor button to enter the footer edit section.

Click on the footer section as shown in the image below to access options which will appear on the left side panel.

You can add elements like a logo or a footer menu or even edit the elements that are already present in the footer.
After the changes have been made, you will find the Publish button on the top right corner. Click on the button to save the global footer changes. Click on the Back to page editor link available on the top left side to return to your web page editor.
Click on the Update button to complete the process as shown in the below image.
