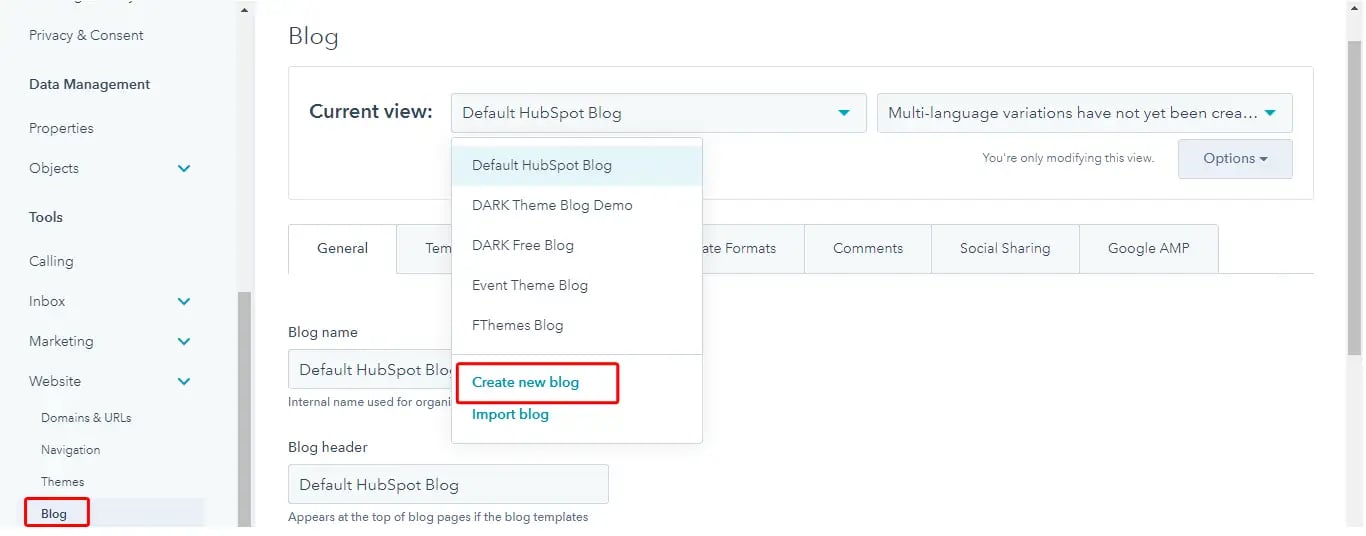
In the upper right corner, you will find a Create dropdown. Click on it to open the menu and select Blog post at the bottom.
A Create blog post popup opens up where you can select the name of the blog along with the intended language.
Click on the Create blog post button in the dialog box to enter the content editor where you can create you blog post and Publish it once completed.

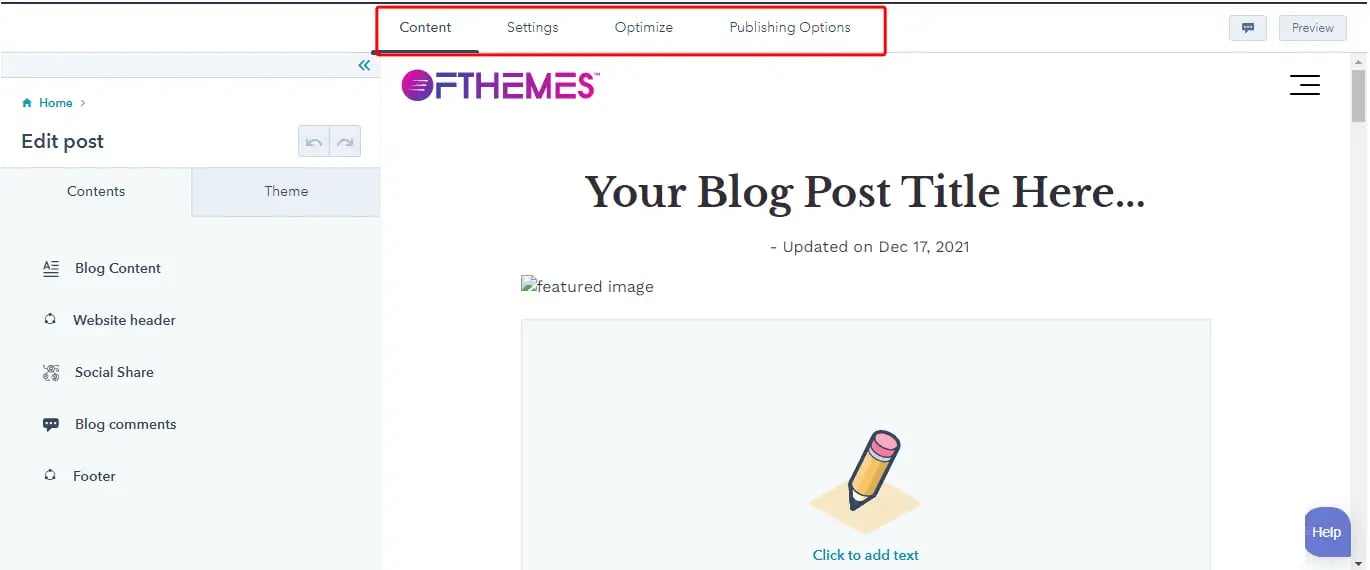
Here in the Content tab, you can add your blog title and content. You can also format your texts using the rich text toolbar which appears at the top of the editor once you click on the content. The toolbar also has options to insert CTA, video, table, icon, anchor, etc. You can also add hyperlinks and images within your blog post using the toolbar which enhances your content even more.
In the Settings tab, you can add other blog settings like author, meta description, featured image, blog title, etc.
There is also an Optimize tab which helps you to rectify the various SEO issues that your blog post may face, such as the number of words used in the content, the number of characters in the title, and so on.
Once you have completed the post as per your satisfaction, you can click on Publish or you can schedule it for a later date which is available in the Publishing Options tab.


